

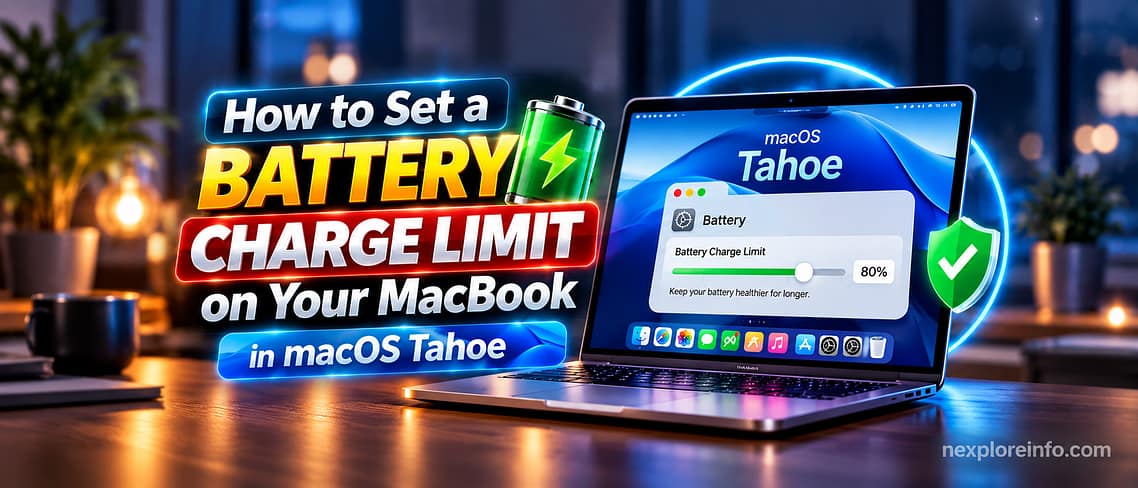
If your MacBook lives on your desk plugged into a charger all day, it’s probably been sitting at 100% for hours at a time, and that’s exactly the condition that ages a lithium-ion battery fastest. Apple finally built a fix directly into macOS. Since macOS Tahoe 26.4, every Apple silicon MacBook has a Charge Limit setting that caps charging at a percentage you choose instead of always topping off to full. Here’s exactly where to find it in macOS Tahoe 26.7 (the current version as of September 2026), what it actually does, and how to decide which charging setting fits the way you use your Mac.
Quick answer
On a MacBook with Apple silicon running macOS Tahoe 26.4 or later, go to System Settings > Battery, click the info button (i) next to Charging, choose Charge Limit, and drag the slider to 80%, 85%, 90%, 95%, or 100%. Click Done. Your Mac will stop charging once it’s near that percentage, and you can still pick Charge to Full Now from the menu bar battery icon anytime you need a full charge, for travel, for example.
Before you start
- A Mac laptop with Apple silicon (MacBook Air or MacBook Pro, M1 chip or newer). Charge Limit isn’t available on Intel Macs, and it doesn’t apply to Mac desktops like the Mac mini, Mac Studio, or iMac, since they don’t run on battery power.
- macOS Tahoe 26.4 or later installed. Check your version under Apple menu > System Settings > General > About. If you’re keeping every Apple device current, our guide on installing iOS 27 covers the same kind of software update check on iPhone.
- No extra app, admin password, or restart needed. The setting takes effect the moment you change it.
Why capping your charge actually helps your battery
Lithium-ion batteries, the kind in every modern MacBook, wear out fastest when they sit at a full charge for long stretches, especially somewhere warm like a sunny desk or a closed bag. Apple’s own battery health management documentation points to heat and constant full charge as the two biggest factors behind long-term capacity loss. A MacBook that’s plugged in from morning to evening every day is effectively parked at 100% for most of its life, the exact condition that shortens a battery’s lifespan. Capping the charge at 80% keeps the battery in a lower-stress state most of the time, the same logic electric car makers use when they suggest daily charging stop well short of full.
How to turn on Charge Limit in macOS Tahoe
1. Open System Settings
Click the Apple menu in the top-left corner of your screen, then choose System Settings.
2. Go to Battery
In the sidebar, click Battery. This screen shows your current charge level and how your Mac is currently managing charging.
3. Open the Charging info panel
Next to Charging, click the small info button.
4. Choose Charge Limit
You’ll see two options: Optimized Battery Charging and Charge Limit. Select Charge Limit.
5. Set your percentage
Drag the slider to 80%, 85%, 90%, 95%, or 100%. Apple’s documentation notes that a lower limit, like 80%, gives the biggest long-term battery health benefit, especially if your Mac usually stays plugged in.
6. Click Done
Your Mac now stops charging once it’s within a few percentage points of your chosen limit. Click the battery icon in the menu bar and you’ll see “Charged to 80% Limit” (or whichever percentage you picked) instead of “Fully Charged.”
Optimized Battery Charging vs. Charge Limit: what’s the difference?
The same Battery settings panel offers two different tools, and it’s easy to mix them up.
| Feature | Optimized Battery Charging | Charge Limit |
|---|---|---|
| What it does | Delays charging past 80% until your Mac predicts you’ll need full power | Sets a hard ceiling your Mac never charges past |
| Best for | Mixed use, sometimes plugged in, sometimes on battery, unpredictable schedule | A Mac that stays plugged in most of the day, like at a desk |
| Minimum requirement | macOS Big Sur 11 or later, any Mac | macOS Tahoe 26.4 or later, Apple silicon Macs only |
| Menu bar shows | “Charging On Hold” | “Charged to [X]% Limit” |
| Can you override it | Yes, “Charge to Full Now” | Yes, “Charge to Full Now” |
Need a full charge before a trip?
Both settings can be overridden in one click. Click the battery icon in the menu bar and choose Charge to Full Now. Your Mac charges normally to 100% that one time, then goes back to your chosen limit afterward. There’s no need to turn Charge Limit off and back on just for a single trip.
Don’t see the Charge Limit option? Try this
- Check your chip. Go to Apple menu > About This Mac and confirm it lists an Apple chip (like Apple M3 or M4). Intel Macs only offer Optimized Battery Charging, not Charge Limit.
- Check your macOS version. Go to Apple menu > System Settings > General > About. You need macOS Tahoe 26.4 or newer; if you’re behind, run Software Update first.
- Remove third-party charge-limiting tools. Older apps built to work around the lack of this feature can conflict with Apple’s built-in version. Uninstall them before relying on the native setting.
- Setting won’t stick? Make sure you clicked Done after moving the slider. The change applies immediately, but the panel needs to be closed to save it.
Tips for getting the most out of Charge Limit
- Use 80% if your MacBook rarely leaves your desk.
- Use Charge to Full Now the night before travel instead of leaving Charge Limit off permanently.
- Keep your Mac out of direct sun and hot rooms. Heat combined with a high charge ages a battery faster than either factor alone.
- Check System Settings > Battery > Battery Health every few months to track your Maximum Capacity percentage over time.
- If you also manage security settings while you’re in System Settings, it’s worth setting up passkeys on your Mac and other devices at the same time, since it lives in the same general area of the app.
Frequently asked questions
Does Charge Limit work on the MacBook Air?
Yes. Any MacBook Air or MacBook Pro with Apple silicon (M1 and later) running macOS Tahoe 26.4 or newer supports it, not just the newest models.
Will an 80% limit actually make my battery last longer?
According to Apple’s own guidance, batteries kept below a full charge experience less chemical stress, which typically shows up as a higher Maximum Capacity percentage after a few years compared with a battery habitually charged to 100% and left plugged in.
What’s the real difference between Optimized Battery Charging and Charge Limit?
Optimized Battery Charging predicts your schedule and lets your Mac reach 100% around the time you’ll actually need it. Charge Limit is simpler: it never lets the battery go past whatever percentage you chose, no prediction involved.
Can I use both settings at the same time?
No. They’re presented as two options in the same panel, and you can only have one active at a time.
Does this feature exist on Intel Macs or Mac desktops?
No. Charge Limit is exclusive to Apple silicon Mac laptops running macOS Tahoe 26.4 or later. Mac desktops, like the Mac mini, Mac Studio, and iMac, don’t run on battery power, so the setting doesn’t appear for them.
Do I need to restart my Mac after changing the setting?
No. Charge Limit and Optimized Battery Charging both take effect immediately, no restart required.
Final advice
If your MacBook mostly lives plugged in at a desk, setting Charge Limit to 80% is a five-second change that pays off over the years you own the machine, especially since Apple silicon Macs like the one reviewed in our MacBook Neo review are built to last well beyond the typical three-year upgrade cycle. If you split your time between a MacBook and a Windows laptop, it’s worth applying the same “don’t always charge to 100%” habit there too, and if you like grabbing new operating system features early, see our guide on getting Windows 11 26H2 before the official rollout.


Leave a Comment